Introduction:
Designing and building business apps using the Canvas app in Microsoft PowerApps is an intuitive experience with the ability to drag and drop elements onto the canvas. This gives the users the freedom to utilize and integrate business data from Common Data Service along with the choice of 200 data sources. Using the blank canvas, users can design tailored user interface for their business applications.
In the previous blog, we have seen how to create a record in CRM using the Canvas app in PowerApps.
In this blog, we will explore how you can attach a photo to CRM record using the Camera control in Microsoft PowerApps.
Using the PowerApps Camera control to attach photos to Dynamics 365 records
1. First, you need to sign in to the PowerApps https://powerapps.microsoft.com/en-us/ with your Microsoft work email id. It will open thePowerApps Web Studio.

2. Now, you need to click on ‘Create an app’ and then select the ‘Phone Layout’ under ‘Start with a blank canvas or a template’. This should open a blank canvas.

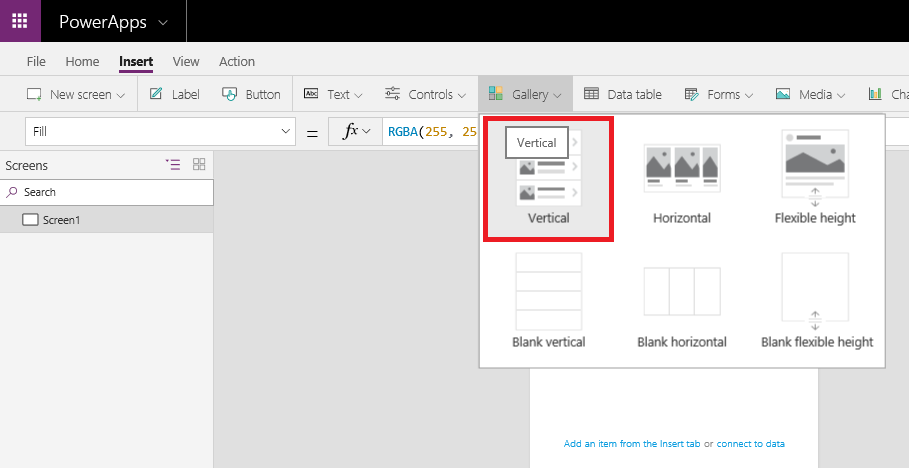
3. Then, insert a ‘Gallery’ control on the canvas.
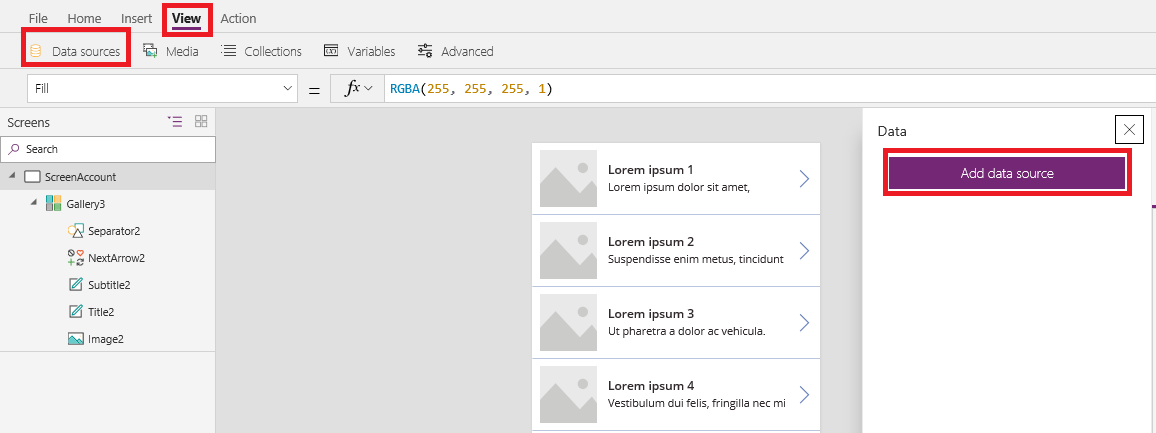
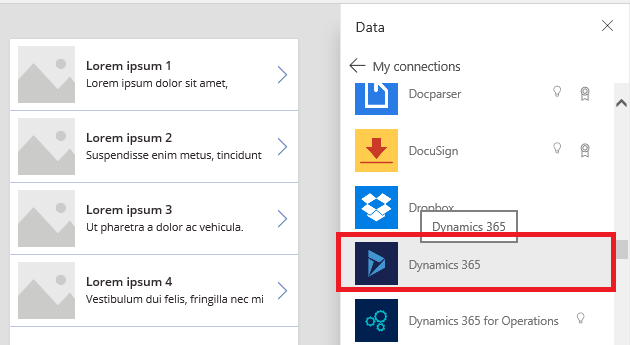
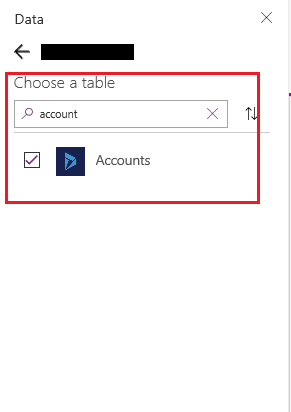
4. Now, go to View > Data sources > Add data source. Here, add Dynamics 365 as a data source and add corresponding entities (in this example, we are adding Account and Notes entities).
5. Next, set the Gallery Item property to Accounts.

6. Now, set the OnSelect property of Next Arrow to; Navigate(ScreenAccountDetail,ScreenTransition.Cover,{accountRecord : Gallery3.Selected})
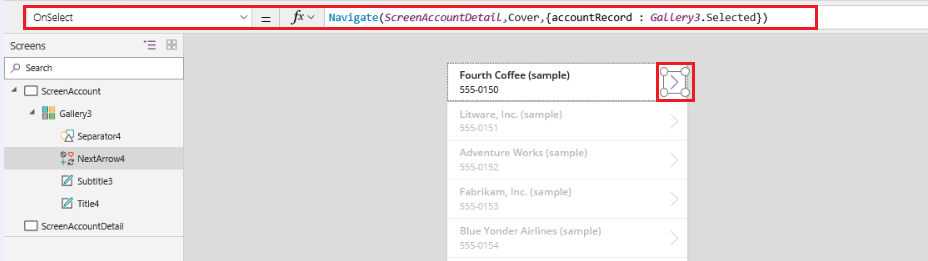
Now, OnSelect or click of the Next Arrow, it will navigate to “ScreenAccountDetail” screen.
Here we are sending the selected row as “accountRecord” into the next screen which means the whole data row will be available on screen “ScreenAccountDetal”.
7. Next, add another screen for capturing the image from the Camera Control. Add Camera control on the screen and set the position and size to see the image while capturing.
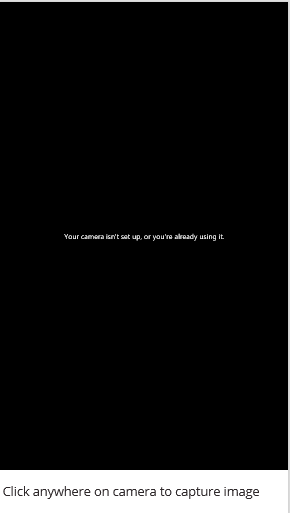
Note: Here we have added a Label and set its Text property to“Click anywhere on camera to capture image” below the camera control to let the user know how to capture the image from control.
Set OnSelect property of Camera Control to;
ClearCollect(CameraImages,Camera1_1.Photo);
Clear(Image);
ForAll(CameraImages,Collect(Image,{Filename:”img.jpg”,fileBody:Url}));Back()

CameraImages: In this collection, captured images will be stored as URL which will be in the base64 string format with prefix “data:image/jpeg;base64,”.
Image: this is the collection in which we store the image name and image captured by the camera control.
Note: Here we are storing one image at a time to CRM.
8. Insert Blank Screen and add the control to save the captured image as Attachments in Dynamics CRM.

Note: We have added a scrollable screen and all the controls added in the section. You can use the blank screen as well.
Set the Text property of the Label to; accountRecord.name
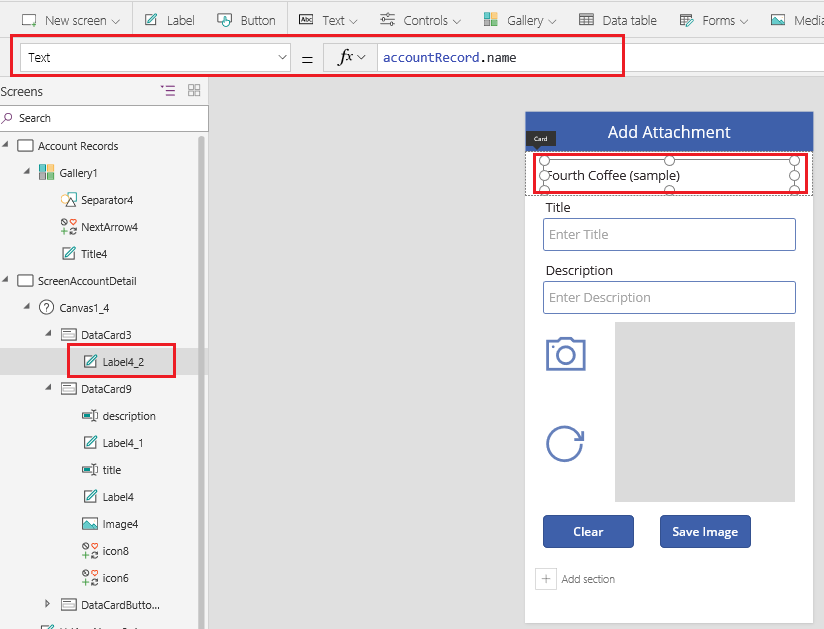
Set OnSelect property of Camera Icon to; Navigate(CameraAccount,ScreenTransition.Fade)
On click of the Camera Icon, it will navigate to Camera Screen (added in step 7) where you can capture the image.
Set OnSelect property of Reset Icon to; Clear(Image)
On click of the Reset Icon, it will clear the Image collection.
Set OnSelect property of Clear button to; Reset(title);Reset(description);Clear(Image)
This button will clear the Title, Description and Image collection.
Set OnSelect property of Save Image button to;
Patch(Notes,Defaults(Notes),{subject:title.Text ,notetext :description.Text,_objectid_value : accountRecord.accountid, _objectid_type : “accounts”,filename: “img.jpg”,documentbody :
If(StartsWith(First(Image).fileBody,”data:image/jpeg;base64,”),Replace(First(Image).fileBody,1,23,””),First(Image).fileBody)});
Here we are creating the records in the Annotation entity regarding the account. So, to set the regarding field we have to pass the objectidvalue and objectidtype.
In our case, we are creating the Annotation record against the Account entity, so we pass the objectidvalue as selected account id and objectidtype as accounts. Also, we are setting the default file name as “img.jpg”, you can use a different name with .jpg extension.
Note: To create attachments in CRM we have to pass the document body in base64 string. In the canvas app, the camera control gives the URL as base64 string of captured image with the prefix “data:image/jpeg;base64,”. So while creating the annotation record in CRM we have to remove “data:image/jpeg;base64,” from the URL and if you want to display the attachment image of CRM in Image control of canvas app then you have to append “data:image/jpeg;base64,” in the prefix of document body.
Conclusion:
By following the above steps, we can create the Annotation record in CRM with the help of the Camera Control from the Canvas app in Microsoft PowerApps.