Our latest release of Click2Export with newly added features has been getting some great feedback from our Partners and Users. Once such feature which all users have been primarily excited was the exporting your CRM Word Templates in 1 click using the new Workflow feature.
This amazing feature helps CRM users to export word template (Word and PDF format) and perform actions (attach to note/email, auto send the email or upload to SharePoint) on the execution of certain CRM processes. Using this feature users can automate the exporting process for selected word template. This results in not just saving their valuable time, but also saves the clicks by reducing the steps to export and use these word templates within CRM.
Let’s see how word templates works within CRM. Word Template (MS Document) is a type of template that can be designed as per users requirement. Also, it has the option of uploading template in Dynamics CRM. In this template, the user can add the required fields – descriptive labels, texts, and formats. Along with that user can select the 1:N and N:N relationships.
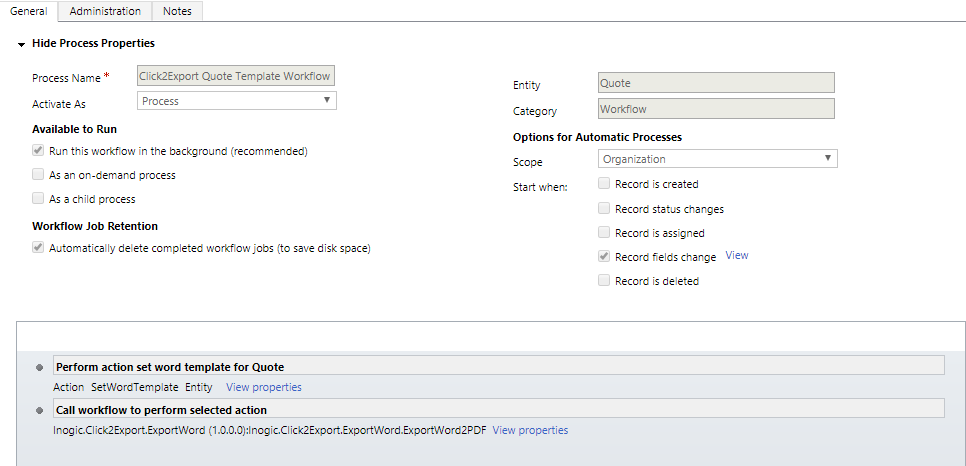
Here, we have taken an example of Quote Entity for explaining this workflow feature to automate the exporting of word templates (Word and PDF Format) on the execution of automatic process selected in a workflow.

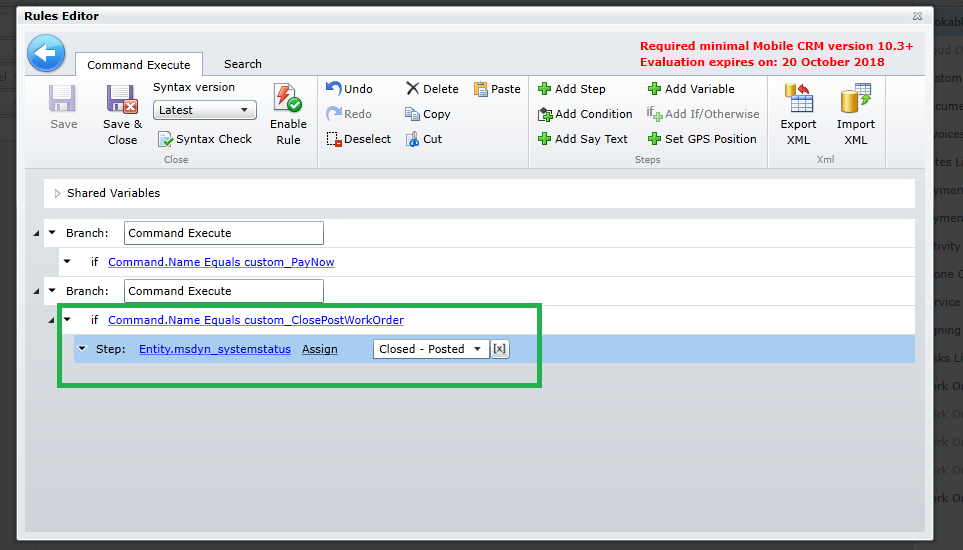
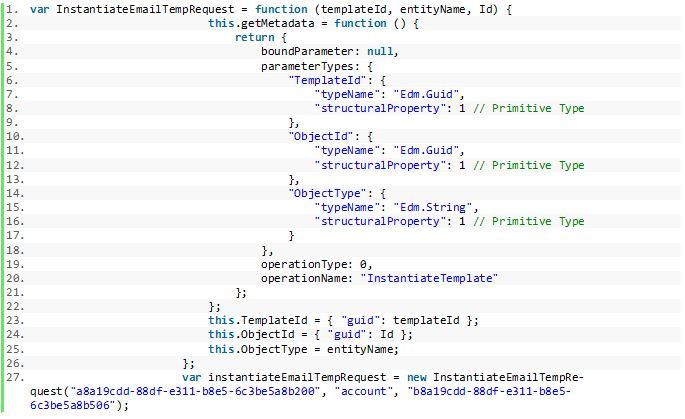
Also, we have created the Click2Export Workflow to export the word template automatically on Record field change (field – name) process and export the selected word template and execute the required action that is to be performed. Users need to add the Perform Action step and Click2Export Assembly (Inogic.Click2export.ExportWord.ExportWord2PDF) and define the CRM Word Templates, entity and actions that are to be performed after exporting.
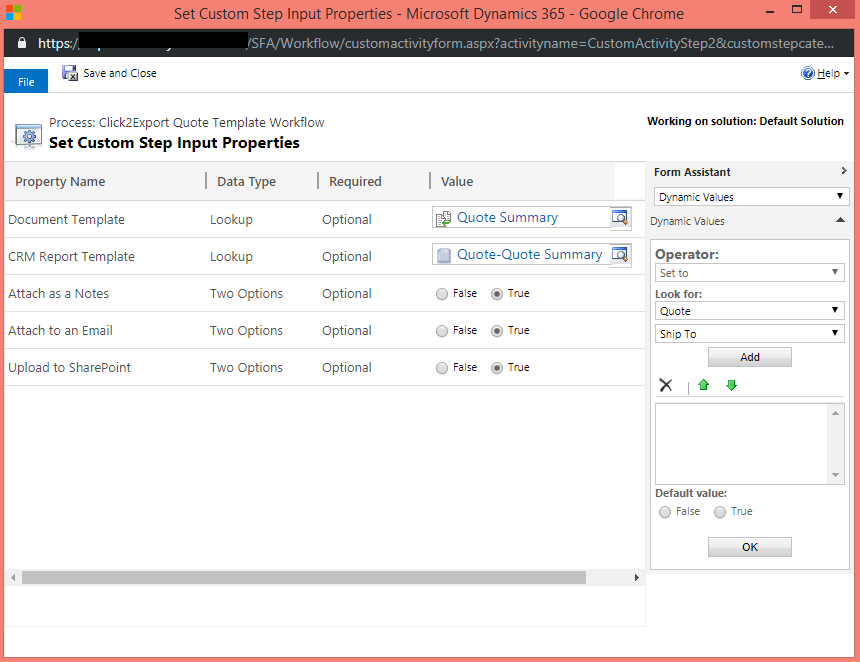
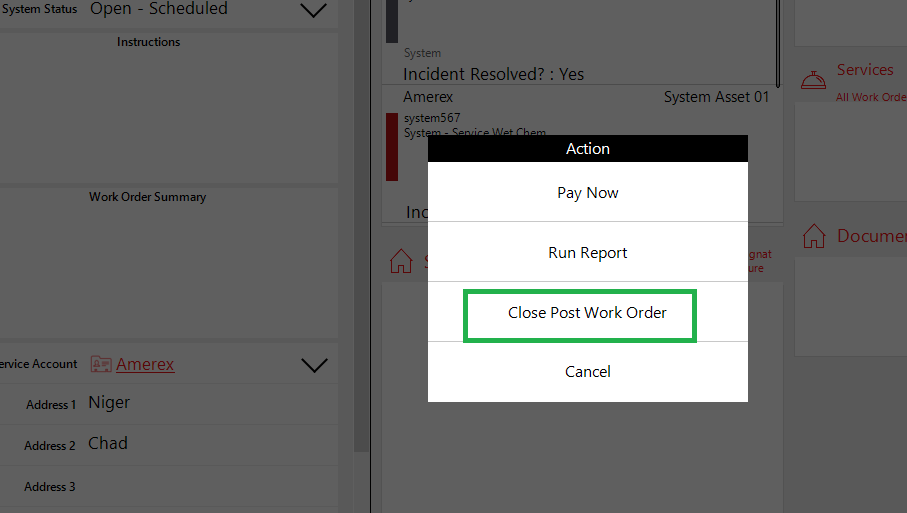
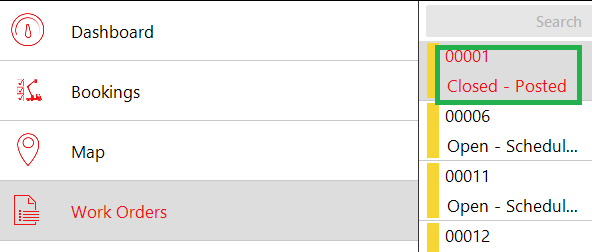
After selecting the Quote we have changed its name from ‘Car Quotation’ to ‘Car Quotation 1’. By doing this the word template that is defined in workflow Click2Export assembly gets exported and selected actions are performed i.e. Attach to Note, Attach to an Email and Upload to SharePoint.
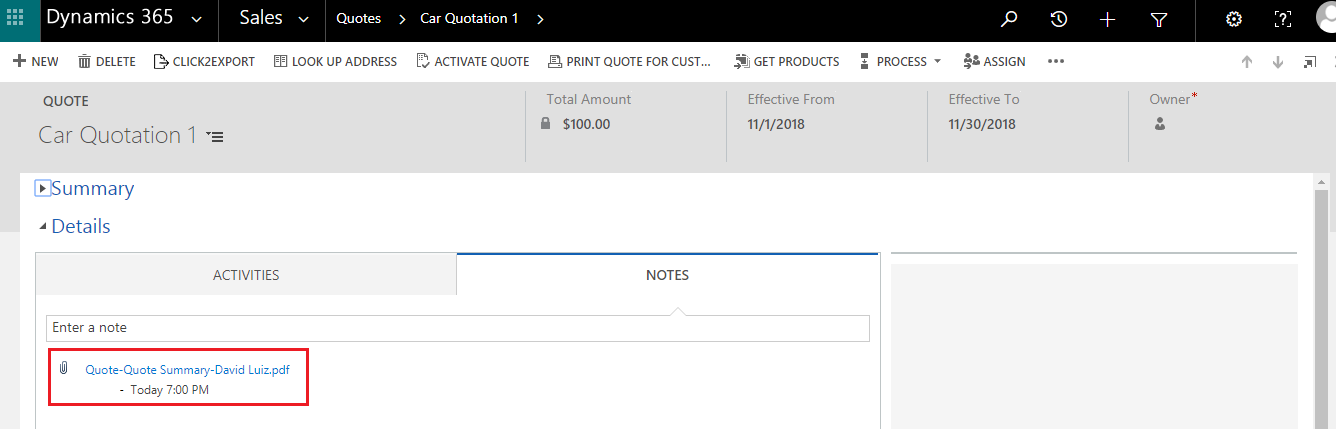
Attach to Note
By selecting this action as true after triggering of workflow the word template is exported and gets attached as a note of the selected Quote.
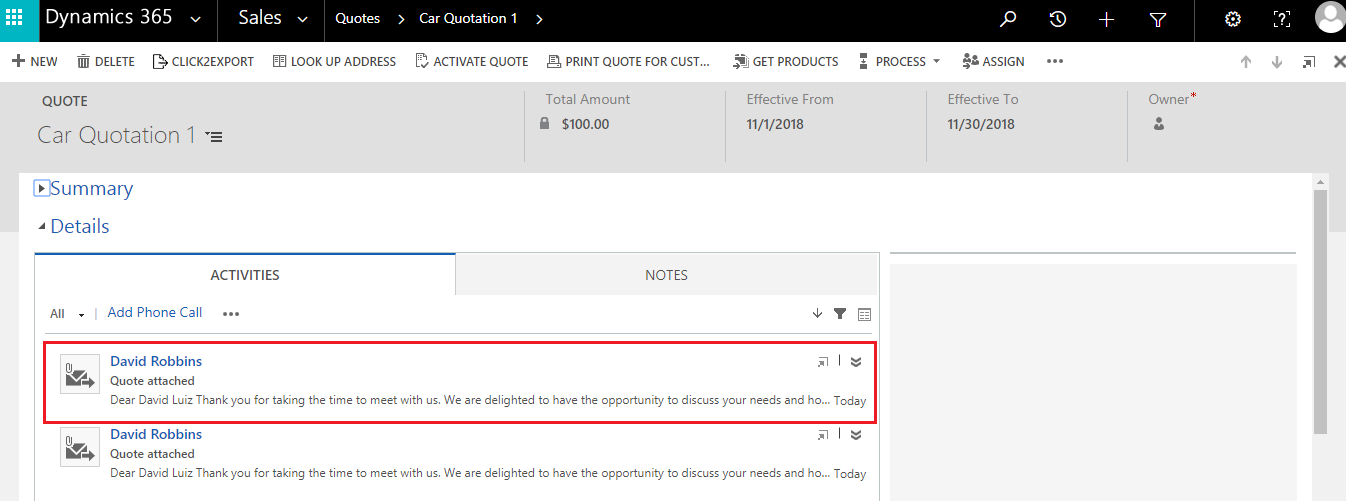
Attach to an Email
By selecting this action as true after triggering of workflow the word template is exported and attach to an Email of the selected Quote.
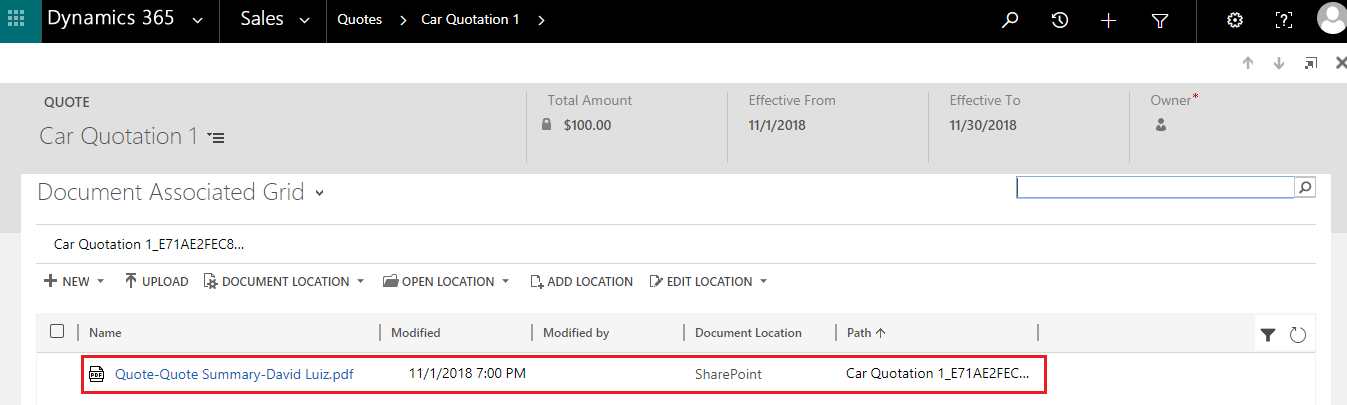
Upload to SharePoint
By selecting this action as true after triggering of workflow the word template is exported and uploaded to SharePoint of the selected Quote.
Grab your 15 days free trial instantly to evaluate the workflow feature by downloading it from our website or Microsoft Appsource. For a live demo or any more information on its new features, please email us on crm@inogic.com.